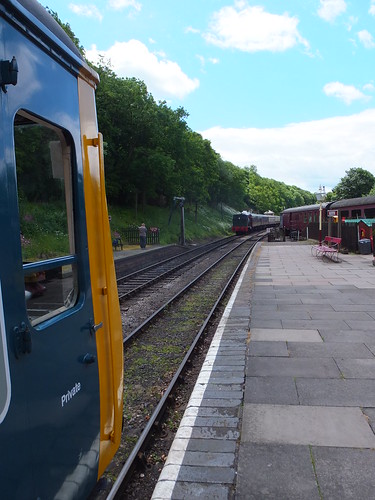
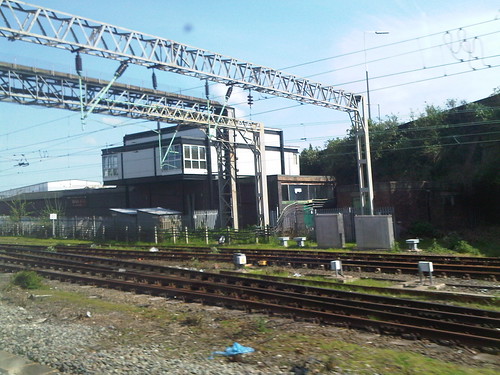
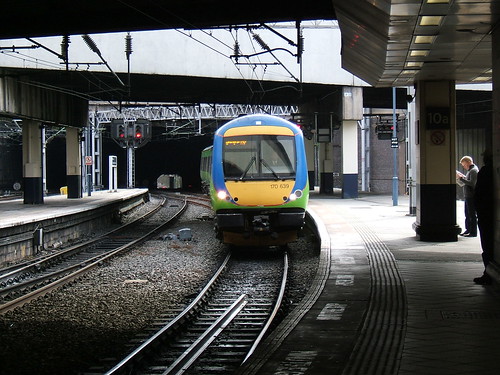
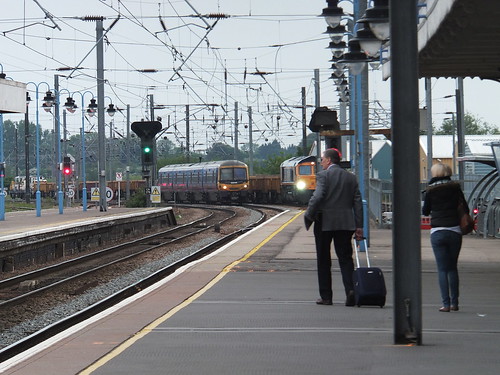
The DMU waiting for 'Sir Gomer' to clear the single line.
The Battlefield Line ran a '1940s weekend' on the weekend of 15th/16th June 2013. 'Sir Gomer' operated the 4-coach service train, providing five round trips between Shackerstone and Shenton, stopping at Market Bosworth each way. Departures from Shackerstone were timed for 10.30 a.m., 12.00 noon, 1.30 p.m., 3.00 p.m. and 4.30 p.m. During the 35 minutes allowed at Shackerstone to run round and take water the single line section was available, allowing the DMU to make a trip to Market Bosworth and back. The DMU was scheduled to depart Shackerstone at 10.00 a.m., 11.30 a.m., 1.00 p.m. 2.30 p.m. and 4.00 p.m. This was the second year that the Battlefield Line arranged a '1940s weekend' - my report on the 2012 event is here.
On Saturday 15th June 2013 I was booked to drive the diesel railcar. I'm afraid a 1960s DMU (particularly in blue and grey livery) is the wrong period for a 1940s Weekend but it seemed to offend me more than anyone else. The plan was to use the single-unit DMU 55005 (at the north end) coupled to half of the 2-car DMU (at the south end). I found the set, as expected, on the railcar siding.
The Technical Stuff
I completed my 'Daily Exam' and successfully started all four engines. There was a slight delay while I allowed the compressors to build up control air pressure in the air receivers - ideally 75 p.s.i. is required for correct operation of the Electro-Pneumatic (E.P.) valves controlling gear change on the epicyclic gearboxes and selecting direction on the final drives.
I 'opened' the southern cab with the master key and engaged the final drive, correctly obtaining six blue lights on the engine monitoring panel (left hand engine, air and axle, right hand engine lit for both power cars). With the "Dead Man's Handle" depressed, I 'blew-up' the vacuum brake (having ensured the handbrake was applied in the north end cab), then released the "Dead Man's Handle" and waited for the vacuum to collapse and automatically re-apply the brakes. This, of course, is the original method of ensuring that a train with only one person in the cab will be brought to a stand if that person becomes incapacitated.
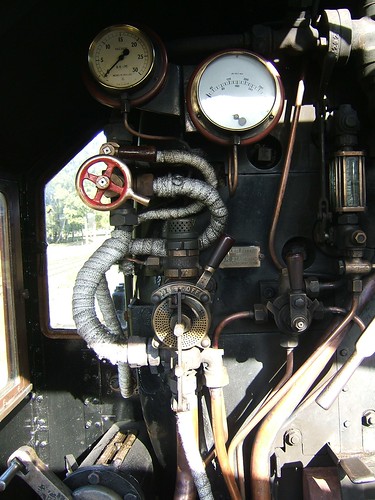
I also tested the running lights at that end. There are two lamp clusters which can each show white or red.
 Detail of a Red/White lamp cluster on a Diesel Multiple Unit.
Satisfied, I 'closed' the cab and repeated these checks from the cab at the northern end.
There was still some time before our first booked departure at 10.00 a.m. but John, the Signalman, "gave us the road" and I moved the 2-car train down to platform 1. A little later, I was standing in the south end cab when there was a loud 'bang' under the cab floor, followed by a loud hissing. The control air gauge was 'heading south' rapidly. I quickly dropped down onto the track to look at the various air connections under the cab and found a white-painted air main just venting the last of our control air. A little later, I confirmed that the connection between a reinforced plastic pipe and the metallic air main (secured by a jubilee clip) had become detached. We quickly concluded that we'd not be able to work our first train but the flexibility of the design of these multiple units offered the possibility of 'ditching' the failed vehicle and operating with just the single car. Of course, if I'd been confident we could repair the failed connection in a reasonable time, we might have been able to run with both vehicles but we agreed that the more certain solution was to operate with the single car. We judged that we'd have sufficient passenger capacity with the single car and so it proved. Later in the day, I attempted a repair on the reinforced plastic pipe and satisfied myself we'd made the correct decision in not trying to fix the problem earlier.
The control air main is continuous along the train, passing through flexible couplings provided with isolation cocks between vehicles, so we had no control air in the single car DMU at the northern end, either. We closed the isolation cock between the vehicles and I restarted the engines in the single car DMU at the north end (I'd shut down all engines whilst we agreed what to do). Control air was restored in the single car DMU. I opened the south end cab (with the 'failed' car in front of me) and created the vacuum brake, which still controlled both vehicles. With the Guard in the leading cab of the failed vehicle and Martin 'on the ground', I slowly drove back to the DMU siding, propelling the failed vehicle. The Guard applied the handbrake on the failed vehicle and I 'eased up' so as to slacken the coupling before applying the brakes on the 'good' car. Martin then uncoupled the 'dead' vehicle.
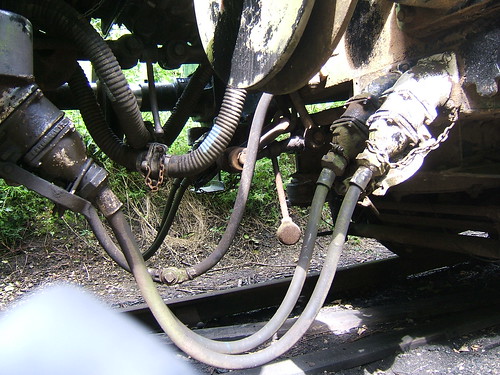 Click for larger image
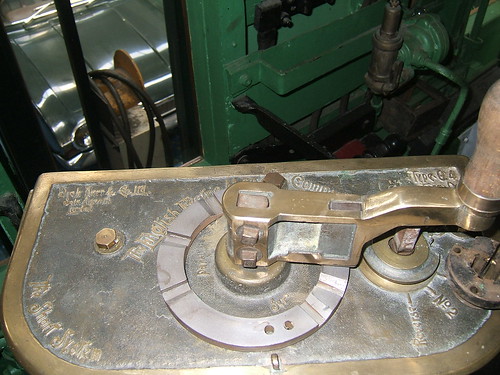
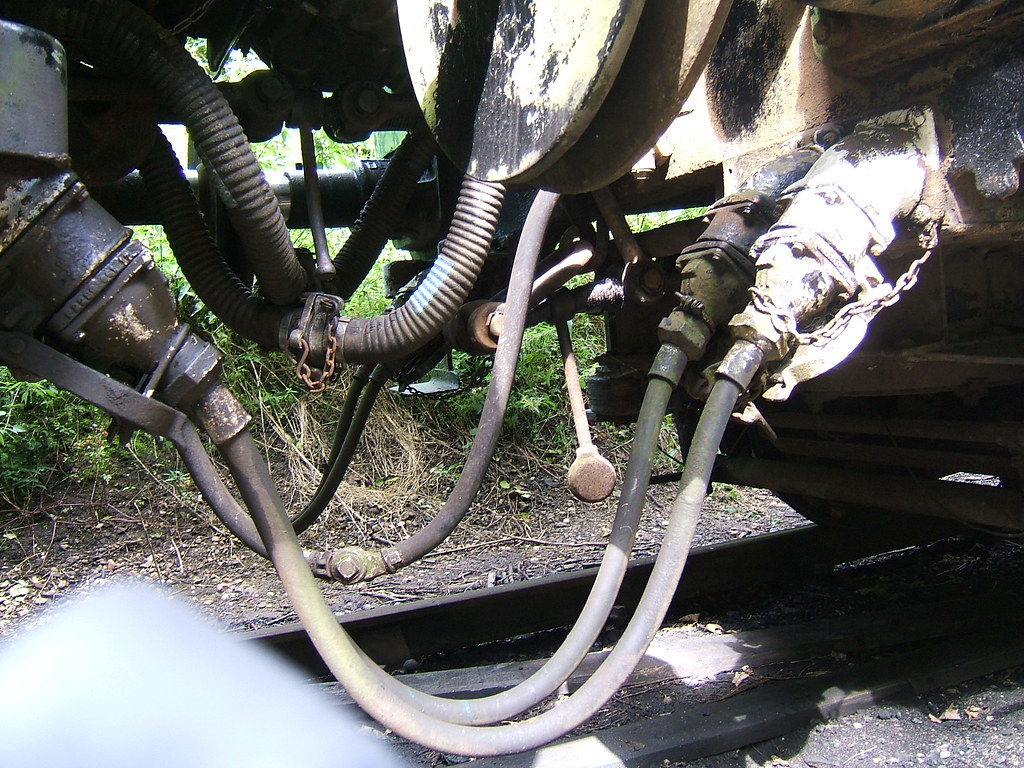
Details of the interconnections between vehicles.
The picture above shows that it's a bit more involved than on ordinary coaching stock and, of course, there's not much room to work. Referring to the picture above, starting nearest the camera, you have:-
1. Jumper cable on left vehicle ('black') attached to multipole connector on right vehicle.Jumper cables not in use are 'stowed' in a receptacle adjacent to the jumper cable. 'Palm' couplings are standard on railways for air lines and they are mated and de-mated with an action similar to rubbing your hands together, hence the name. To avoid confusion between the two vacuum brake hoses, the fittings on the 'quick release' hoses are the mirror image of the standard coupling. 'Quick release' relates to the speed at which the driver can create vacuum compared with a traditional one-pipe vacuum brake - desirable on some suburban workings with frequent stops.
2. Jumper cable on left vehicle ('white')attached to multipole connector on right vehicle.
3. Control air hoses, joined with 'palm' coupling.
4. Vacuum brake train pipe corrugated hoses, joined with standard vacuum connection ('red').
5. Vacuum brake 'quick release' corrugated hoses, joined with 'reversed' vacuum connection ('blue').
6. Standard screw coupling on left vehicle, attached to right vehicle and tightened.
7. Standard screw coupling on right vehicle, not used and suspended from hook on underframe.
8. Jumper cable on right vehicle ('white') attached to multipole connector on left vehicle.
9. Jumper cable on right vehicle ('black') attached to multipole connector on left vehicle.
10. The round buffer heads nearer the camera are visible at the top of the picture.
. I've gone into a little detail in order to highlight what I think are some of the design strengths of the 'Modernisation' DMUs. The technology used was well-proven and fairly simple, making it easier for "dyed-in-the-wool" steam drivers to make the transition from steam to diesel. Not all accepted the new traction - the lack of a 'mate' in the cab made the job too solitary for some but, in general, the equipment was well-received. A certain amount of fault-finding was within the scope of a driver (without the use of now-universal computers to monitor and identify problems).The 'Multiple Unit' concept with Electro Pneumatic control meant that trains could readily be made longer or shorter to cater for different duties. I think the design of these DMUs stands up well, particularly compared with the later abyssmal 'Pacers' (which still plague some areas of our railways).
For more information, see my post Diesel Multiple Units which has links to 'Lecture Notes and Drawings' by the British Railways Diesel Training School and four black and white sound films on YouTube.
In Traffic
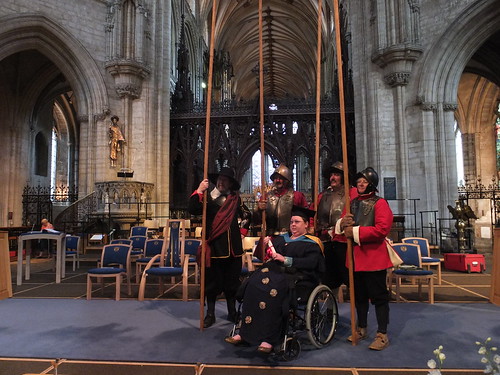
Having dealt with the failure of one vehicle described above, we were "back in business" with a one car unit, ready for our 11.30 a.m. departure. The weather wasn't too good - intermittent rain and a cold wind. The sun would start to appear, only to be covered by cloud. Passenger numbers weren't brilliant - a great pity after the efforts made organising the event but I enjoyed meeting the re-enactors travelling with us.
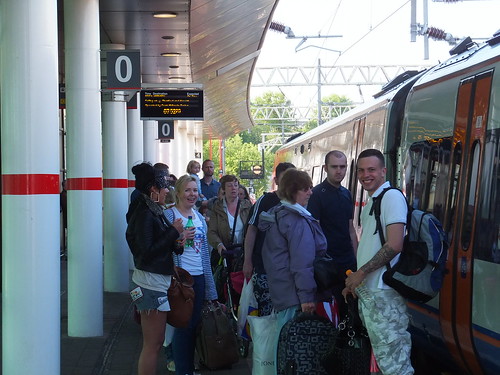
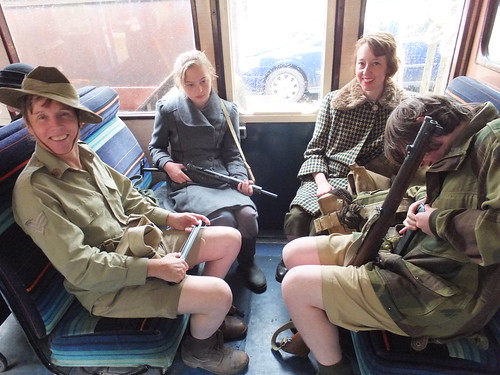 Re-enacters on the train. The Australian Sergeant on the left really is from Sydney
In addition to the normal attractions at Shackerstone - the Victorian Tea Room, Shops on both Platform 1 and Platform and the Museum, an old radio in the Waiting Room was playing wartime programmes.
Although the Main Train hauled by 'Sir Gomer' went to Shenton, the diesel railcar only went as far as the intermediate station at Market Bosworth. This was where the main displays were held but the DMU had a very quick turn-around each time it was at Market Bosworth so I didn't get to see them.
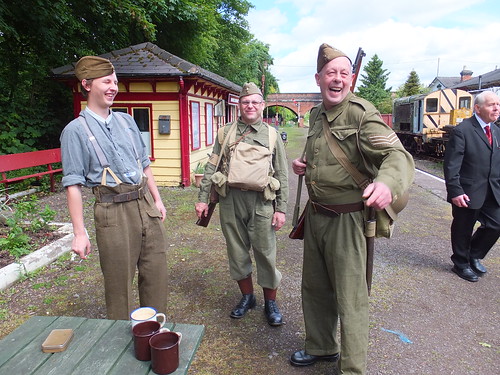 Re-enacters on Market Bosworth Station.
We completed our 'diagram' without further incident and I stabled our single car unit on the railcar siding, ready for the following day.
My Pictures
Saturday 15th June 2013.
Shackerstone DMU Group.
Bubble Car.


